

Rogue Defenders Beginner Guide: Survive All 20 Waves
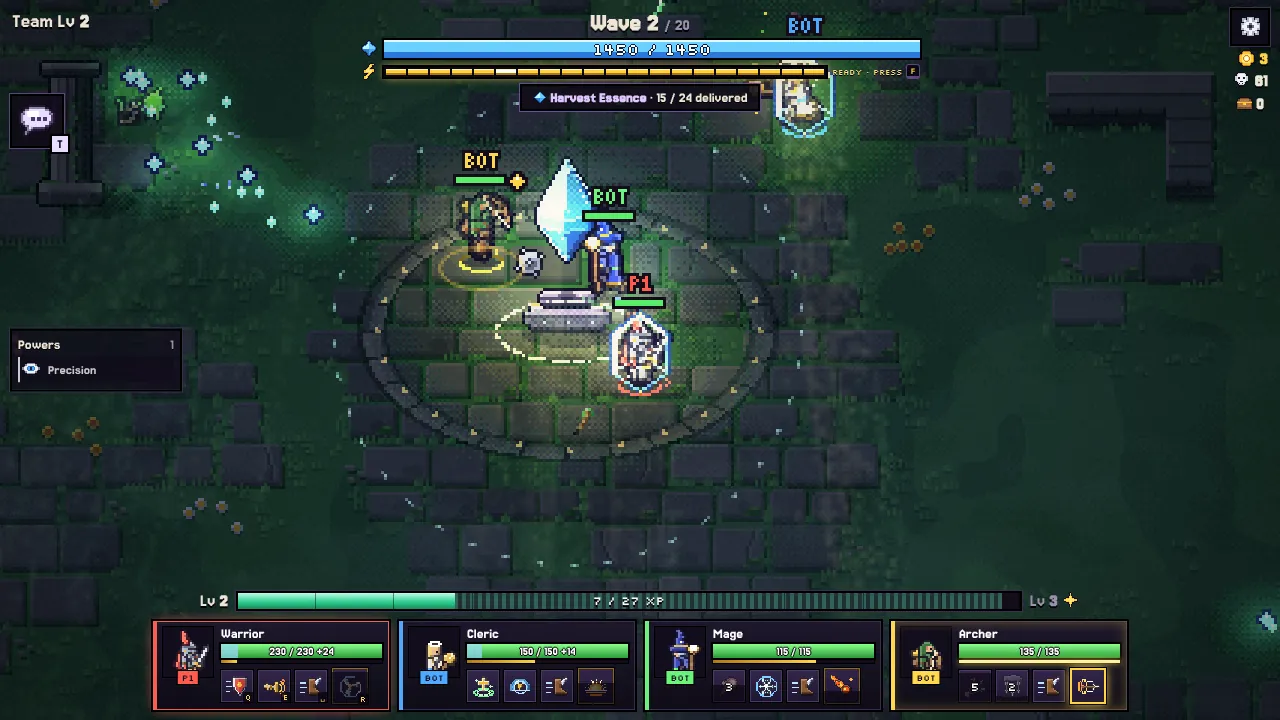
- A Rogue Defenders run is 20 waves in 4 realms; the boss waves are 5, 10, 15 and 20, and waves 2-4 of each realm carry a team objective.
- Fight near the crystal: its light heals you, speeds up revives and stands fallen heroes back up.
- Save the Crystal Surge for a crisis: it stuns every monster near the crystal for 2 seconds and heals the team.
- A lost run still pays: you keep the gold, shards and gear you earned.
This Rogue Defenders beginner guide gets your first team through all 20 waves. The short version: fight near the crystal, do each objective together, save the Crystal Surge for the moment everything goes wrong, and knock monsters into rivers and lava. And relax: even a lost run sends you home with gold, shards and gear.
Your first run will be chaos, and that's half the fun. Somebody will chase a bat to the edge of the map, somebody will get pinned by a Stalker, and the crystal will flash red more than once. This page turns that chaos into a plan, wave by wave. New to the game as a whole? The complete Rogue Defenders guide explains what it is. Otherwise, start a run in your browser and keep this open beside it.
Which hero should a beginner pick?
Take the Warrior. The Warrior is the toughest hero in the game, takes less damage from the front and has Shield Charge, which slams into monsters, knocks them back and stuns them: the easiest way to learn the joy of shoving a whole pack into a river. War Cry pulls every monster nearby onto the Warrior and halves the damage the Warrior takes for a few seconds, so friends get room to breathe.
If a friend has already grabbed the Warrior, take the Cleric. The Cleric heals the weakest friend every few seconds without you lifting a finger, wraps everyone and the crystal in a shield with Aegis, and revives twice as fast as anyone. Both heroes are free. The Rogue Defenders heroes guide compares all six.
How does the first realm play out?
The Verdant Ruins is your first realm: a river map with bridges and fords, and plenty of water to throw monsters into. Here's what each wave wants from you:
- Wave 1: plain monsters. Learn your dash and spot where the portals are.
- Waves 2 to 4: each brings a team objective. The wave won't end until it's done, so make the objective the job and the kills the side dish.
- Wave 5: the Skeleton Warlord. It slams, charges, fires rings and calls in skeletons. Every big attack has a wind-up, so watch for it and dodge, and expect it to get angrier at half health.
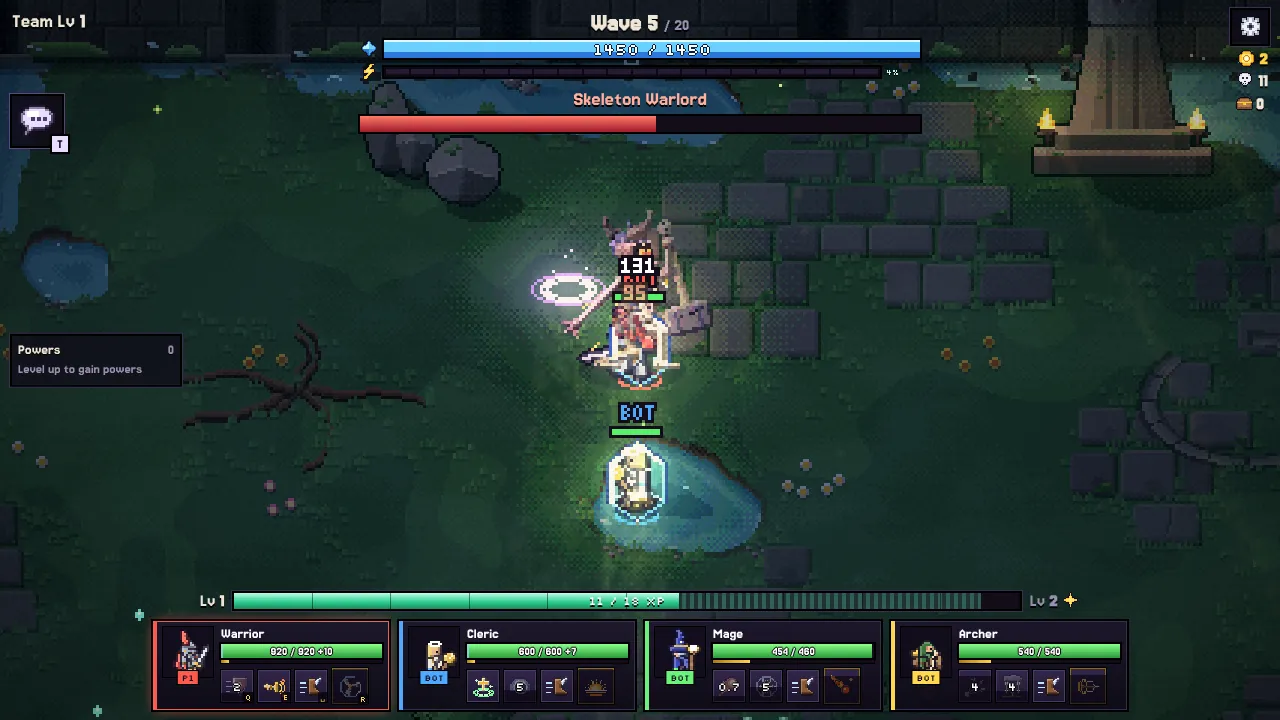
After each wave you get a short break, a bit longer after a boss. The crystal heals, every hero heals, and anyone who was down gets back up. Anyone can skip it, but if the team is hurt, let the break run.
Later realms turn it up. Gorrak the Warlord, Vaela the Lich Queen and the Abyssal Golem each take longer to bring down than the last, and the first wave of each new realm rolls a surprise like Ambush, where every portal opens at once.
Why should you stay near the crystal?
Because the crystal's light is the best place on the map to fight. Inside it:
- you heal over time;
- revives go faster;
- a hero who falls inside it slowly gets up alone.
So pull fights toward the crystal instead of chasing monsters to the far corners, unless an objective sends you out there. Keep an eye out for Bombers, which sprint at the crystal and explode, and Wraiths, which fly straight over the fight to reach it: shoot those first.
The six team objectives, and how to beat each
Waves 2, 3 and 4 of every realm each roll one of these:
| Objective | What to do | Tip |
|---|---|---|
| Seal the Rifts | Smash rifts that keep spawning monsters | Gang up on one rift at a time |
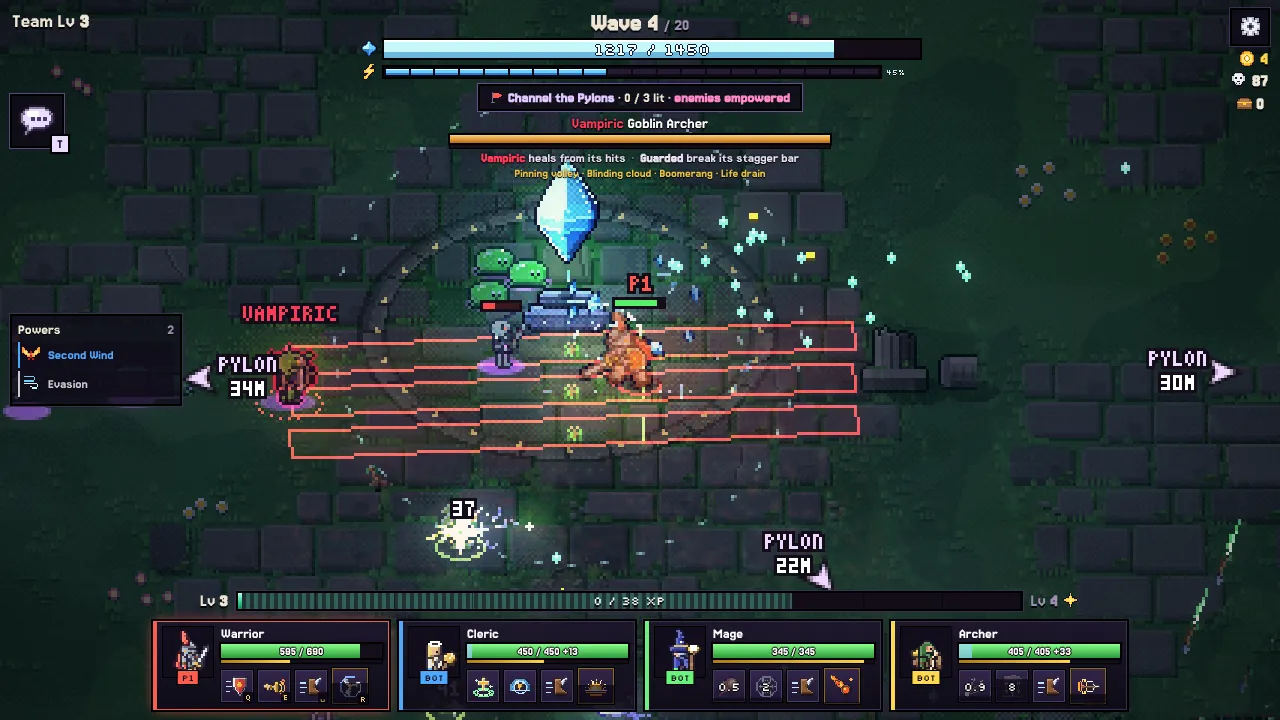
| Channel the Pylons | Stand in each glowing circle | Go together: four heroes finish a pylon almost four times faster than one, and monsters hit harder until all are lit |
| Harvest Essence | Carry essence from kills into the light | You can carry up to 5, but each one slows you down |
| Recover the Shards | Bring three shards in from the far edges | Carriers can't fight or dash, so friends play bodyguard |
| Twin Seals | Stand on both seals at the same time | Needs two heroes; when it's done, every monster is wiped out |
| Guard the Lightwells | Keep three lightwells alive until time runs out | Every one that survives charges the Surge |
Getting hit pauses a pylon, so the tank should stand between the circle and the monsters.
When should you use the Crystal Surge?
The Surge fills during each wave from kills near the crystal, delivered essence and lit pylons. When it's full, a hero inside the light presses interact, and the crystal goes off like a bomb. Every monster nearby takes a big hit, gets blasted back and is stunned for 2 seconds. Heroes in range heal 30% and shake off anything nasty, and anyone down in the light jumps back up.
Treat it as your panic button. Fire it when two heroes are down, when a Stalker has someone pinned, or when a boss's minions swarm the crystal. Using it on a calm wave just to clear stragglers wastes it. Bonus: the blast throws monsters off edges, so near water or lava it's a mass splash.
The monsters that hunt heroes, and how to answer them
Most monsters want the crystal. Three kinds want you, and they're what wipes beginner teams:
- Hounds run in packs and chase whoever has the least health. Keep your weakest friend close to the tank.
- Stalkers fade in next to whoever has drifted furthest from the team, pounce and pin them. A friend has to come and throw it off, which stuns it too. Don't wander.
- Hexers stick Doom on a hero, and it explodes after 5.5 seconds. A friend who stands right next to the marked hero for 1 second clears it. Never run Doom to the crystal: if it goes off there, the crystal takes a beating.
Elites are tougher monsters with one or more special traits, and a guard bar that leaves them dazed and wide open when you fill it. Four to learn first: hit Shielded elites from behind, kill Summoners before anything else, take down Linked pairs within a few seconds of each other or the first one comes back, and break a Warded elite's floating pylon before you bother hitting the elite.
How should you pick powers on a level-up?
Every team level-up gives each hero three powers to choose from, and you have 15 seconds before one is picked at random. Some rules of thumb:
- Find one power that makes your main skill better, then keep stacking it. Rarer versions of skill powers hit much harder and come back sooner.
- Grab Second Wind (revive yourself once) whenever you see it; it only shows up at Rare or better.
- Take Crystal Bond (kills heal the crystal) when the crystal keeps taking hits.
- Use your rerolls. You start with 2 and get 2 more each realm, holding up to 4, and a reroll never shows the same three cards again.

The land is a weapon
Walls block, shallow water slows everyone, and burning cracks set walkers on fire. Best of all: a normal monster knocked into water, lava or the void is gone instantly, however much health it had. Elites dig in at the edge, and bosses and flyers never fall, so use it to clear the crowd around them. Shield Charge, the Warrior's Greataxe and the Surge all knock monsters flying. On Emberfall's lava islands and the Void Citadel's floating platforms, fighting next to an edge is often quicker than fighting in the middle.
What should you do after a run?
Win or lose, you keep the gold, shards and gear you found, and a win pays a fat bonus on top. Your hero also earns experience toward their own level, with a skill point every level.
- Spend your skill points. Each hero has a big tree to grow, and respec is free, so experiment.
- Upgrade one weapon. Each level makes it stronger, up to +10; you need shards from +3.
- Salvage the rest for shards.
- Buy crates last. Iron crates are mostly commons; save for Gilded crates, which are always rare or better.

Beat Normal and Tier 1 opens: twice as many elites, and better pay. Tiers 1 and 2 are free; Tiers 3 to 10 come with Pixaplay Pass.
Fancy a change? Rogue Defenders' Crystal Clash pits you against your friends on lanes. Start with the War Band deck guide, and if you're teaming up, the 2v2 strategy guide.
Questions people ask
What is the best hero for a beginner in Rogue Defenders?
Start with the Warrior. The Warrior has the most health, shrugs off hits from the front and has a charge that knocks monsters into rivers, so mistakes hurt less. Second pick is the Cleric, who heals the weakest friend automatically and revives twice as fast as anyone. Both are free.
What happens when the crystal falls in Rogue Defenders?
The run ends, and the same happens if every hero is down at once. Don't panic about it: you still keep the gold, shards and gear you picked up, and your hero keeps the experience they earned. A loss is a step forward, just a noisier one.
How do I revive a teammate in Rogue Defenders?
Run over and stand next to them for a few seconds. A Cleric does it twice as fast, and anyone revives faster inside the crystal's light. Heroes who fall in the light even get back up by themselves, and the Cleric's ultimate brings every fallen friend back in one go.
Can I play Rogue Defenders alone?
Yes. Play solo with bots in the other three seats, or entirely on your own. Bots on Auto pick a tank, then a healer, then damage around you. They listen to quick messages like Defend the crystal! and Go to the objective!, and follow your map pings for a while.
What should I spend gold on first in Rogue Defenders?
Pour it into the weapon you love before buying crates. Every upgrade level makes the item stronger, up to +10, and you only need shards from +3. The cheap Iron crates are mostly common items, so save up for Gilded crates, which always give rare or better.